
If the College of Pharmacy manages your Mac, Microsoft Remote Desktop should be available in Self-Service. Just click to install it. If your Mac is self-managed, you can download Microsoft Remote Desktop from the app store - it is a free app.
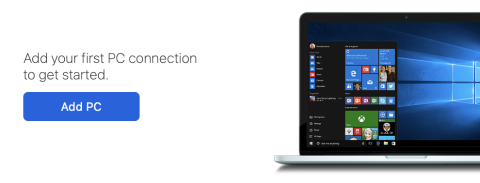
Once Remote Desktop is installed, launch it and select "Add PC"
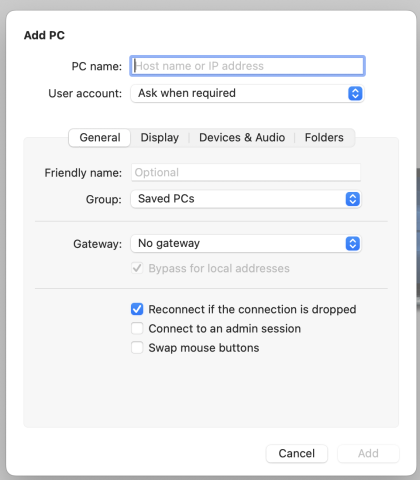
Enter the IP address or name of the remote PC. You will need to reach out to IT support to get this information. We will also need to configure the firewalls so you can reach the remote computer.
There are some settings under the various tabs you can adjust if you need to change how the remote computer displays or if you need access to devices on the computer, but generally the default settings are fine.
Click the add button after you've entered all the information for your PC
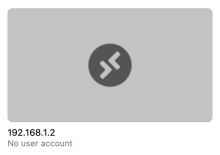
You should now see an icon for your pc and are ready to connect. If you're off campus or on wifi, you'll need to connect to VPN. If you're on a wired connection, just double click the icon to initiate the connection.
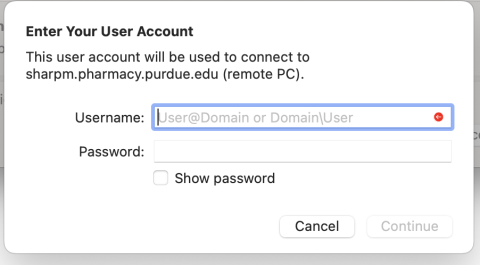
Enter your username and password then click continue. Note that if you normally log into the PC with your career account, you'll need to enter boilerad\username.
To exit from remote desktop, move you mouse to the top of the screen and the standard Mac toolbar will appear.
